The internet is not holding its breath for this: like the majority of the stuff on this site, it’s really a memory aid for me. But for what it’s worth, here is the sorry tale…
In the very unlikely event that you have looked at this site at some point between November of 2021 and last Saturday and have noticed a chunk of posts missing, that’s because I had a little bit of an accident. An accident of the unbacked up data deletion variety.
I originally set this up back in 2008 as a way of sharing photos with family and friends as I either didn’t like the alternatives, or they hadn’t been invented yet. It subsequently morphed into a blog principally on the technology aspects of photography, then posts on holidays and then, as my interests in photography waned and were replaced with other obsessions, random posts on techie projects.
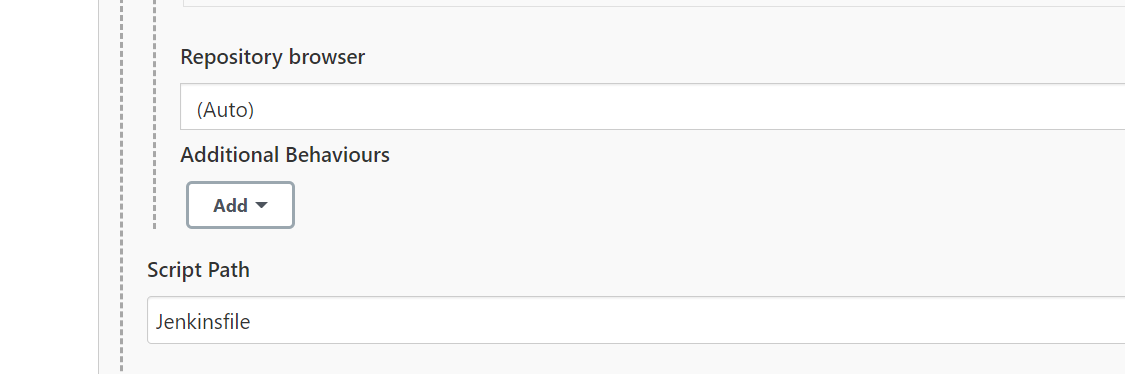
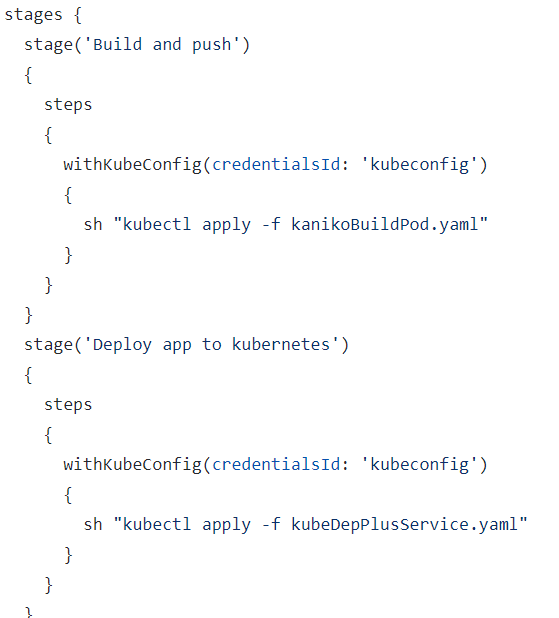
In the summer of 2019, I replaced what had been some standalone software for both the blog and a mail server with some home-rolled containers, as a way of starting to familiarise myself with cloud technology.
This started to get quite complicated (messy), particularly dealing with Let’s Encrypt certificate rollover in as hands-free a manner as possible.
What Went Wrong…
I have had a long-running problem with the containerised mail server software that I’ve been using for years. It has an anti-spam mechanism which delays responses to connections. This is a known issue and one, which both confuses my email clients (which think the server is offline) and that I was never able resolve.
A few weeks ago I started to experiment with an alternative, which, barring a couple of foibles, is fantastic. So I stood up a separate VM on my hosting service, bought a really cheap domain name, and got it up and running.
Testing cyclicly with Docker can turn up some weird state based problems. Over the weekend, I was staring at two identical docker-compose file sections for the same container on separate machines, one of which worked and one of which didn’t. There was a change in a config file mounted in from the file system that just wasn’t getting picked up. With the benefit of hindsight – there has been a lot of that going around – the path was wrong and I was looking in the wrong directory on the running container.
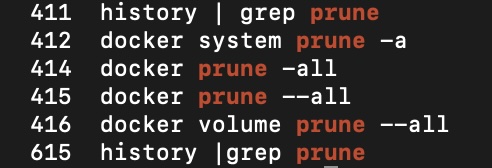
I thought, just to be safe, I’ll take the nuke-the-planet-from-orbit option: I’ll prune the volumes. This didn’t strike me as a bad idea at the time (spoiler alert: it was a really bad idea) because what I’ve been doing for the last couple of years is just mounting directories in from the file system. As well as facilitating sharing of volumes between containers in a very readable way, it is blindingly obvious what state the files are in without having to shell onto the running container (or figuring out where the snap install might have squirrelled them away to).
Unfortunately, the MySQL container was using a volume managed by docker itself. Also, I brought all of the containers down, rather than just the mail server before running the prune command.
Oops.
My last backup had actually been a lot more recent than late 2021: I actually deleted the file from a machine that has storage constraints a few months back.
Inevitably It Will Happen To You
In the summer of 1990, one of my undergraduate friends became the victim of an early computer virus. It turned out that one of the lab technicians had been using free software – distributed on floppy disks on the front of magazines at the time – on the machines, and infected the lot of them.
Unfortunately, my friend was in the final stages of preparing his thesis for submission and lost the lot of it. He was able to cobble together a group of volunteers who could touch-type (myself included. Reading his notes, which looked like they had been written by a toddler with an unusual gift for macro-economics, was another matter) and submit it. His tutor was sympathetic and gave him a short extension to the deadline, but it was quite a hectic few days. The experience was in the back of my mind when I was preparing the documentation for my Masters project a couple of years later, and it has stayed with me.
Well, up until last Saturday at least.
I have documented various photo backup strategies I’ve gone through on this site, going back as far as 2011. After abandoning a labour intensive process of cutting DVDs, I got a network based RAID array, which was awful; then I tried a cloud based backup, which got very expensive over a period of about 5 years. Having discussed it with my wife, finally I decided just to sling another hard drive in a PC and manually copy files over on a folder by folder basis. I figured that if the house burns down there will be bigger priorities.
That machine is up for some major work in the next couple of months: the CPU won’t support Windows 11, so I’m going to have to replace both it and the motherboard. I may take another copy of our photos: it’s the only way to be sure :).
So lost to the ether are 3 years of posts including write-ups of holidays to Korea, Bhutan and Nepal; excruciating detail on writing the software for an E-Ink screen for Google Calendar; software for a touchscreen to control Philips Hue bulbs; and, no doubt a bunch of other things that I will remember over the coming weeks and months.
Unless you are a Torvalds-esque internet megawatt superstar whose every utterance (or code commit) is round the world in a flash, losing some data that is important to you is absolutely inevitable. Draw a circle around the stuff that matters, think about how you might lose it, and put a structure in place to minimise the impact. Just like I didn’t do :).
In the meantime, I have added a repeating calendar reminder to back up the blog…